HOW TO SETUP
You can do the settings as the following steps by refering the demonstration video:
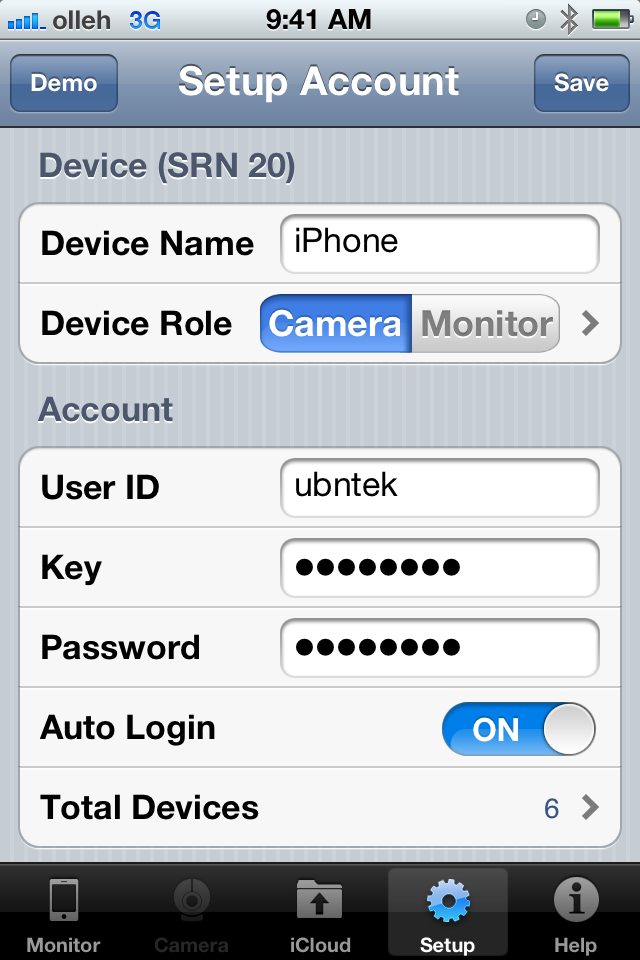
Device and Account Setup
- Tap on the "Setup" icon at the bottom on your device screen
- Do the settings by filling out the required fields
- Device name: Enter the name you want to assign to your iOS device
- User ID: Enter the user ID of your iOS device (case sensitive, 6~24 char size)
- Key: Enter the Key of your iOS device (case sensitive, 6~24 char size)
- Password: Enter the password of the camera (case sensitive, 6~24 char size)
- Key and Password between 6 and 24 characters; must contain at least one lowercase letter, one uppercase letter, one numeric digit
- Select Device Role as Monitor side or Camera side
- Port: Enter the port numberon which the camera-enabled iOS device is installed
- Function Setup: Toggle Auto-Lock, 3G Alert options ON/OFF etc.
- Do tap “save” button in the upper right side
IP Camera Setup (not available in the Lite version)
- Tap on "IP Camera" at the bottom of app screen
- Tap “Add” button to setup a new camera
- Do the settings by filling out the required fields
- Camera name: Enter the name you want to assign to the camera
- Username: Enter the Username of the camera (case sensitive)
- Password: Enter the Password of the camera (case sensitive)
- Spcial characters are not allowed in Username and Password fields
- No first number zero is allowed in the password field
- Select Camera Model by a picker then back to Setup screen
- IP or DDNS: Enter IP address or DDNS URL without “http://”
- Port: Enter the Port number on which the camera is installed
- Function Setup: toggle Pant Tilt, Optical Zoom, 3G Notification options ON/OFF etc.
- Do tap “save” button in the upper left side
Cloud Setup (not available in the Lite version)
- Select one of cloud servers such as Google Drive, iCloud
- Refer to How to Setup Google Drive on Your device
- You first need to sign up for the cloud account by referring iCloud at www.apple.com/icloud/setup or Google Drive at http://support.google.com/drive
For Your Windows OS (Camera Mode)
- "uMobileCam Camera" need to be installed on your Windows by referring to www.ubntek.com/umobilewincamera
For Your Mac OS (Camera Mode)
- "uMobileCam Camera" need to be installed on your Mac by referring to www.ubntek.com/umobilecamera
For Your Mac OS (Monitor Mode)
- "uMobileCam Monitor" need to be installed on your Mac by referring to www.ubntek.com/umobilemonitor